Grow your own Microgreens
Dreaming of summer greens during these cold January days? You can grow microgreens at home, ready to eat in a little over a week!
What are microgreens? They’re young vegetable and herb plants harvested soon after sprouting that add nutritional, visual, and flavor enhancement. They make beautiful garnishes and can freshen up your dishes.
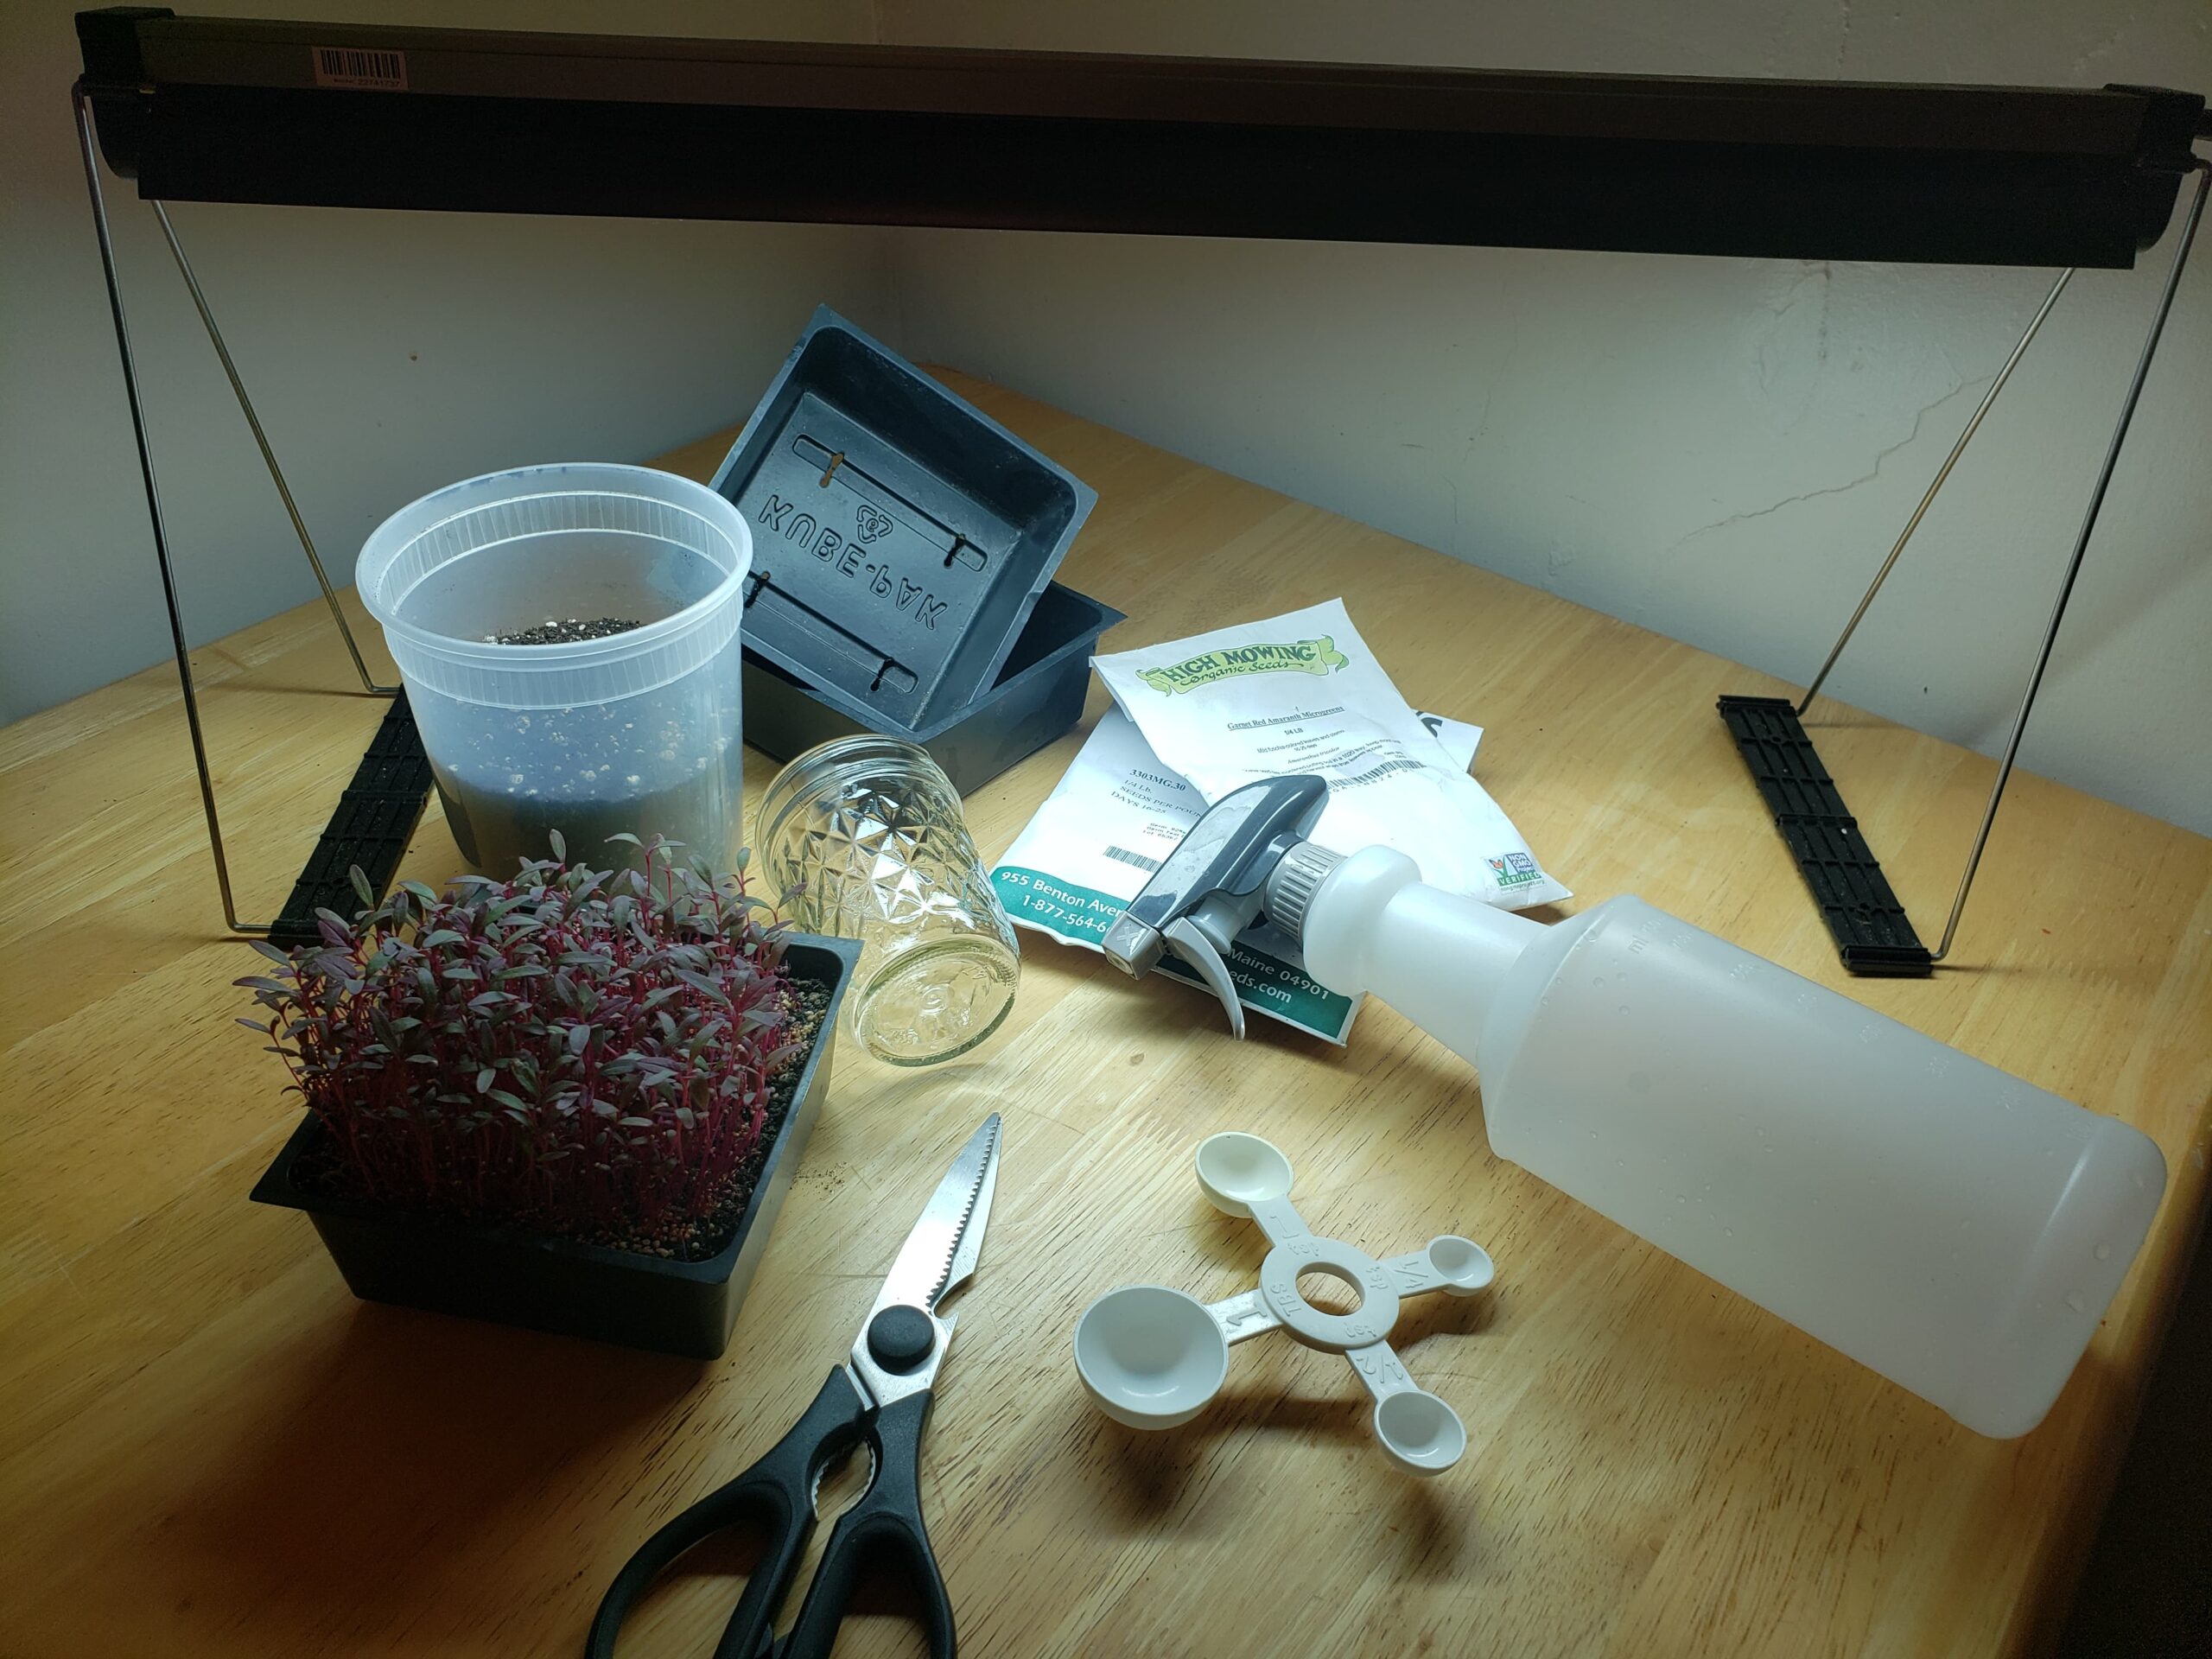
Materials for a small microgreen harvest.
Materials:
- Fine grain potting soil (about 2 cups to fill our small container)
- 2 shallow square or rectangular-shaped plastic containers of the same size with drainage holes (we’re using 4.5 inch x 4.5 inch)
- Spray bottle
- Measuring spoons
- Amaranth or basil microgreens seeds (or any of your choosing!)
- Grow light
- Cup, rock, or small object to weigh down a lid
- Scissors
Follow along on our Instagram stories for a step-by-step virtual workshop!
Step 1: Soil & Seeding
Fill your container with a fine-grain potting soil to nearly the lip of the container, or with about 1/4 of space to the top. Pick out any clumps and smooth down the surface for even growth – then lightly pat/pack down the soil to make it as flat as possible.
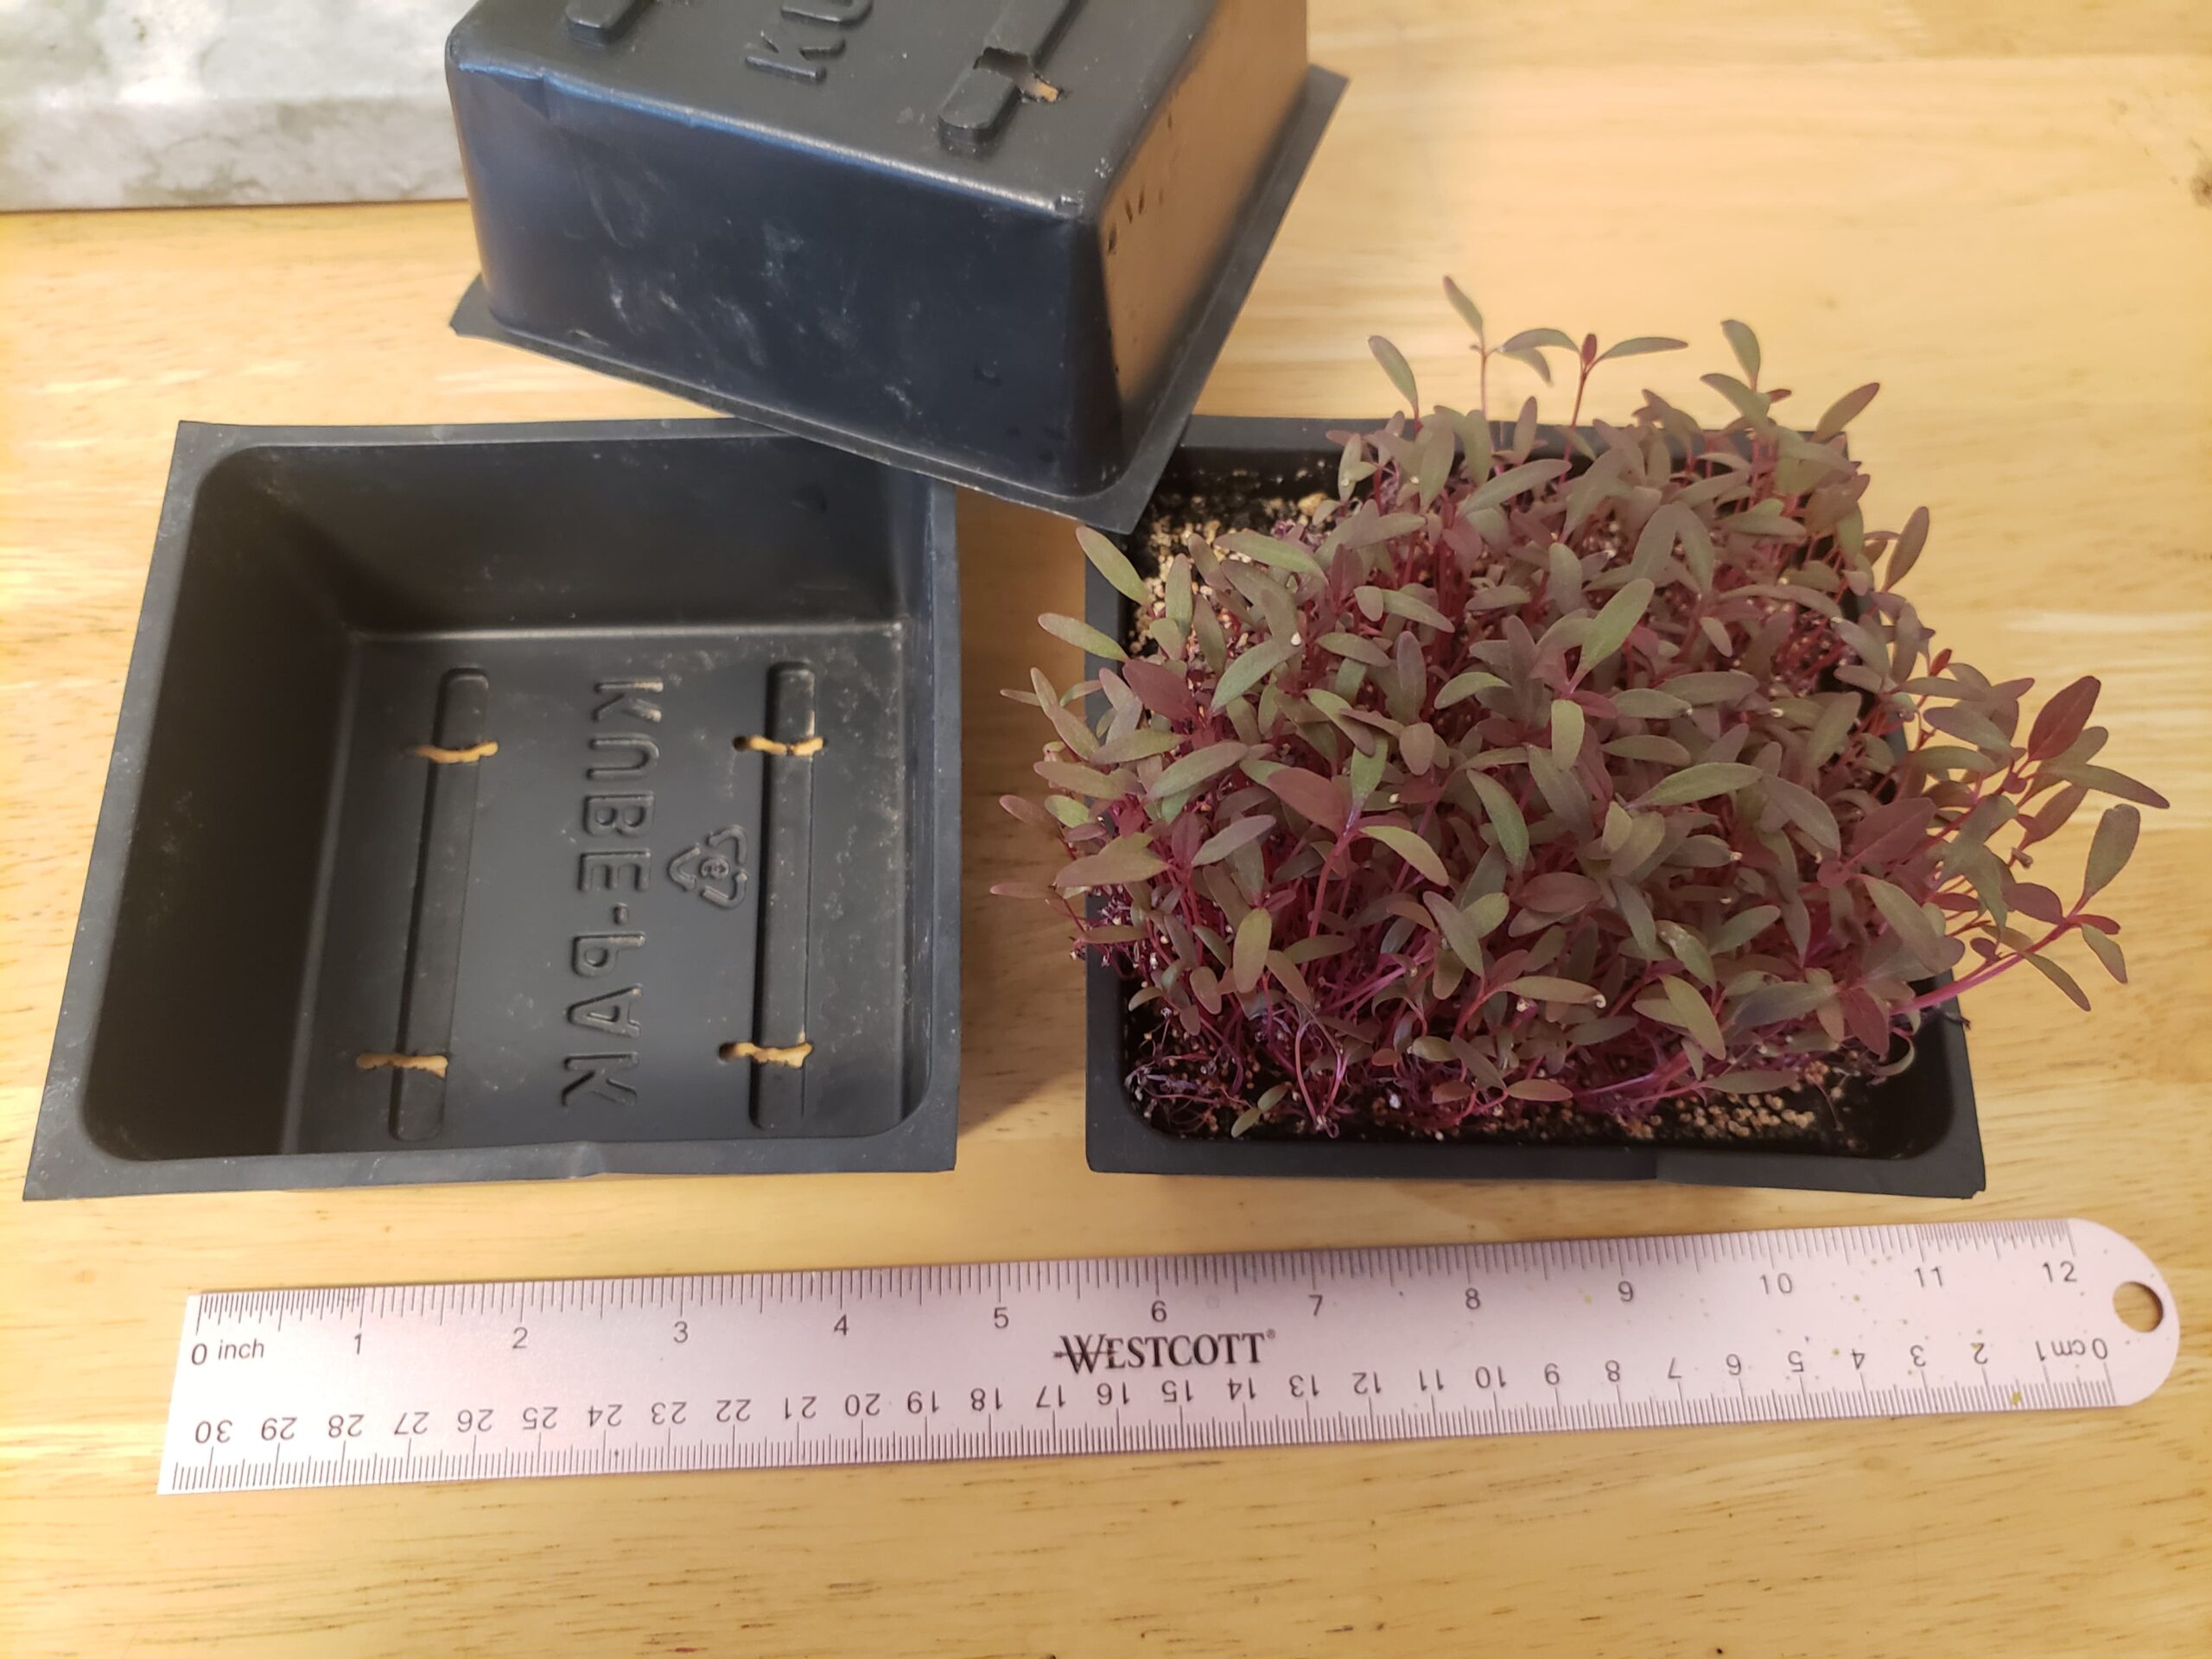
We use shallow containers. Some people grow their microgreens in containers without drainage holes – that’s possible too, but requires a slightly different set of instructions.
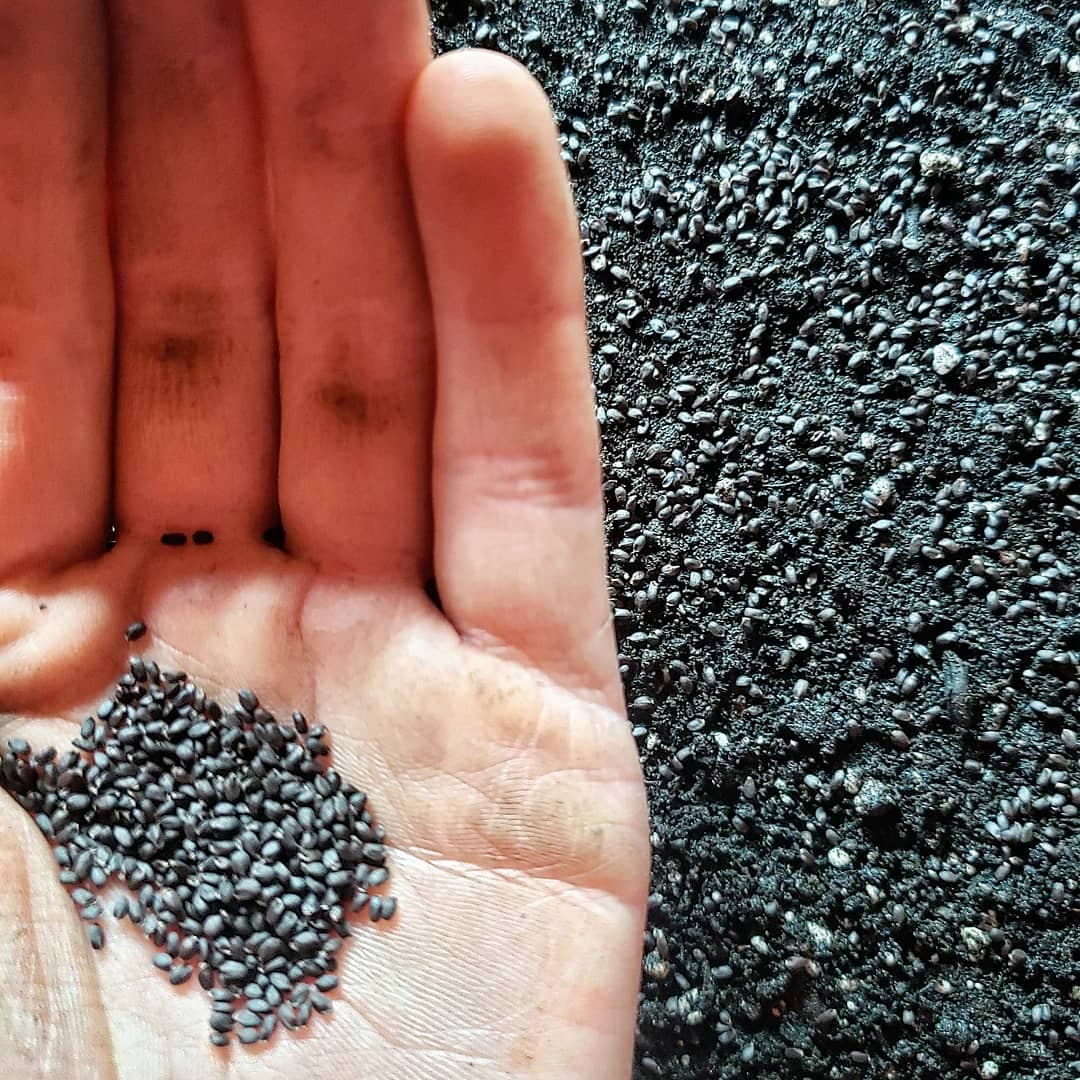
The type and size of microgreen seeds you choose will determine the density they need to be planted at. You can use sites like this one to help determine how much seed you’ll need for your potting container. We are broadcasting amaranth and basil microgreen seeds in 4.5″ square containers, which equates to about 1/2 teaspoon of amaranth or a little over 1/2 teaspoon of basil seeds.
Carefully pinch the seeds over the top of the soil, spreading them as evenly as possible. Avoid clumps of seeds, which will create uneven growth. Once all the seed has been scattered, mist the surface with your spray bottle to wet the seeds (no need to soak them completely).
Seeding basil microgreens.
Instead of covering your seeds with soil, as you’d expect, microgreens grow well with a weight on top and no soil. This helps them germinate (with pressure and darkness before they sprout), and will help the microgreens grow evenly/consistently, avoiding picking up clumps of soil which would have to be rinsed out. Instead, take the second square container and place it directly on top of the layer of microgreen seeds. Then place a juice glass or small weight on top to provide pressure. (You can cover any of the drainage holes with a paper towel or similar if necessary).
What happens when you plant microgreen seeds with a layer of soil on top: uneven growth & clumped with dirt.
Step 2: Watering & Waiting
Once you have scattered your seeds and set the weight on top, you can sit your microgreen growing container in a shallow dish with an inch of water. This will soak into the soil from the bottom, which is better for healthy root growth. Your microgreens will take around 3 days to germinate. While you’re waiting, keep them in a warm spot (like your kitchen) and give them some water in the dish as needed (around once a day).
If you notice the top container is *magically* floating or being pushed off the seeds – congrats! Your microgreens have germinated! Take off the weight and the top container to check for growth. If you can see growth, you can place the container under a grow light. Prop up the container so it is a few inches away from the grow light (young plants need a lot of light!) and keep your grow light on for around 12 hours per day. Continue watering from the bottom as needed, and mist the top of the soil/plants minimally.
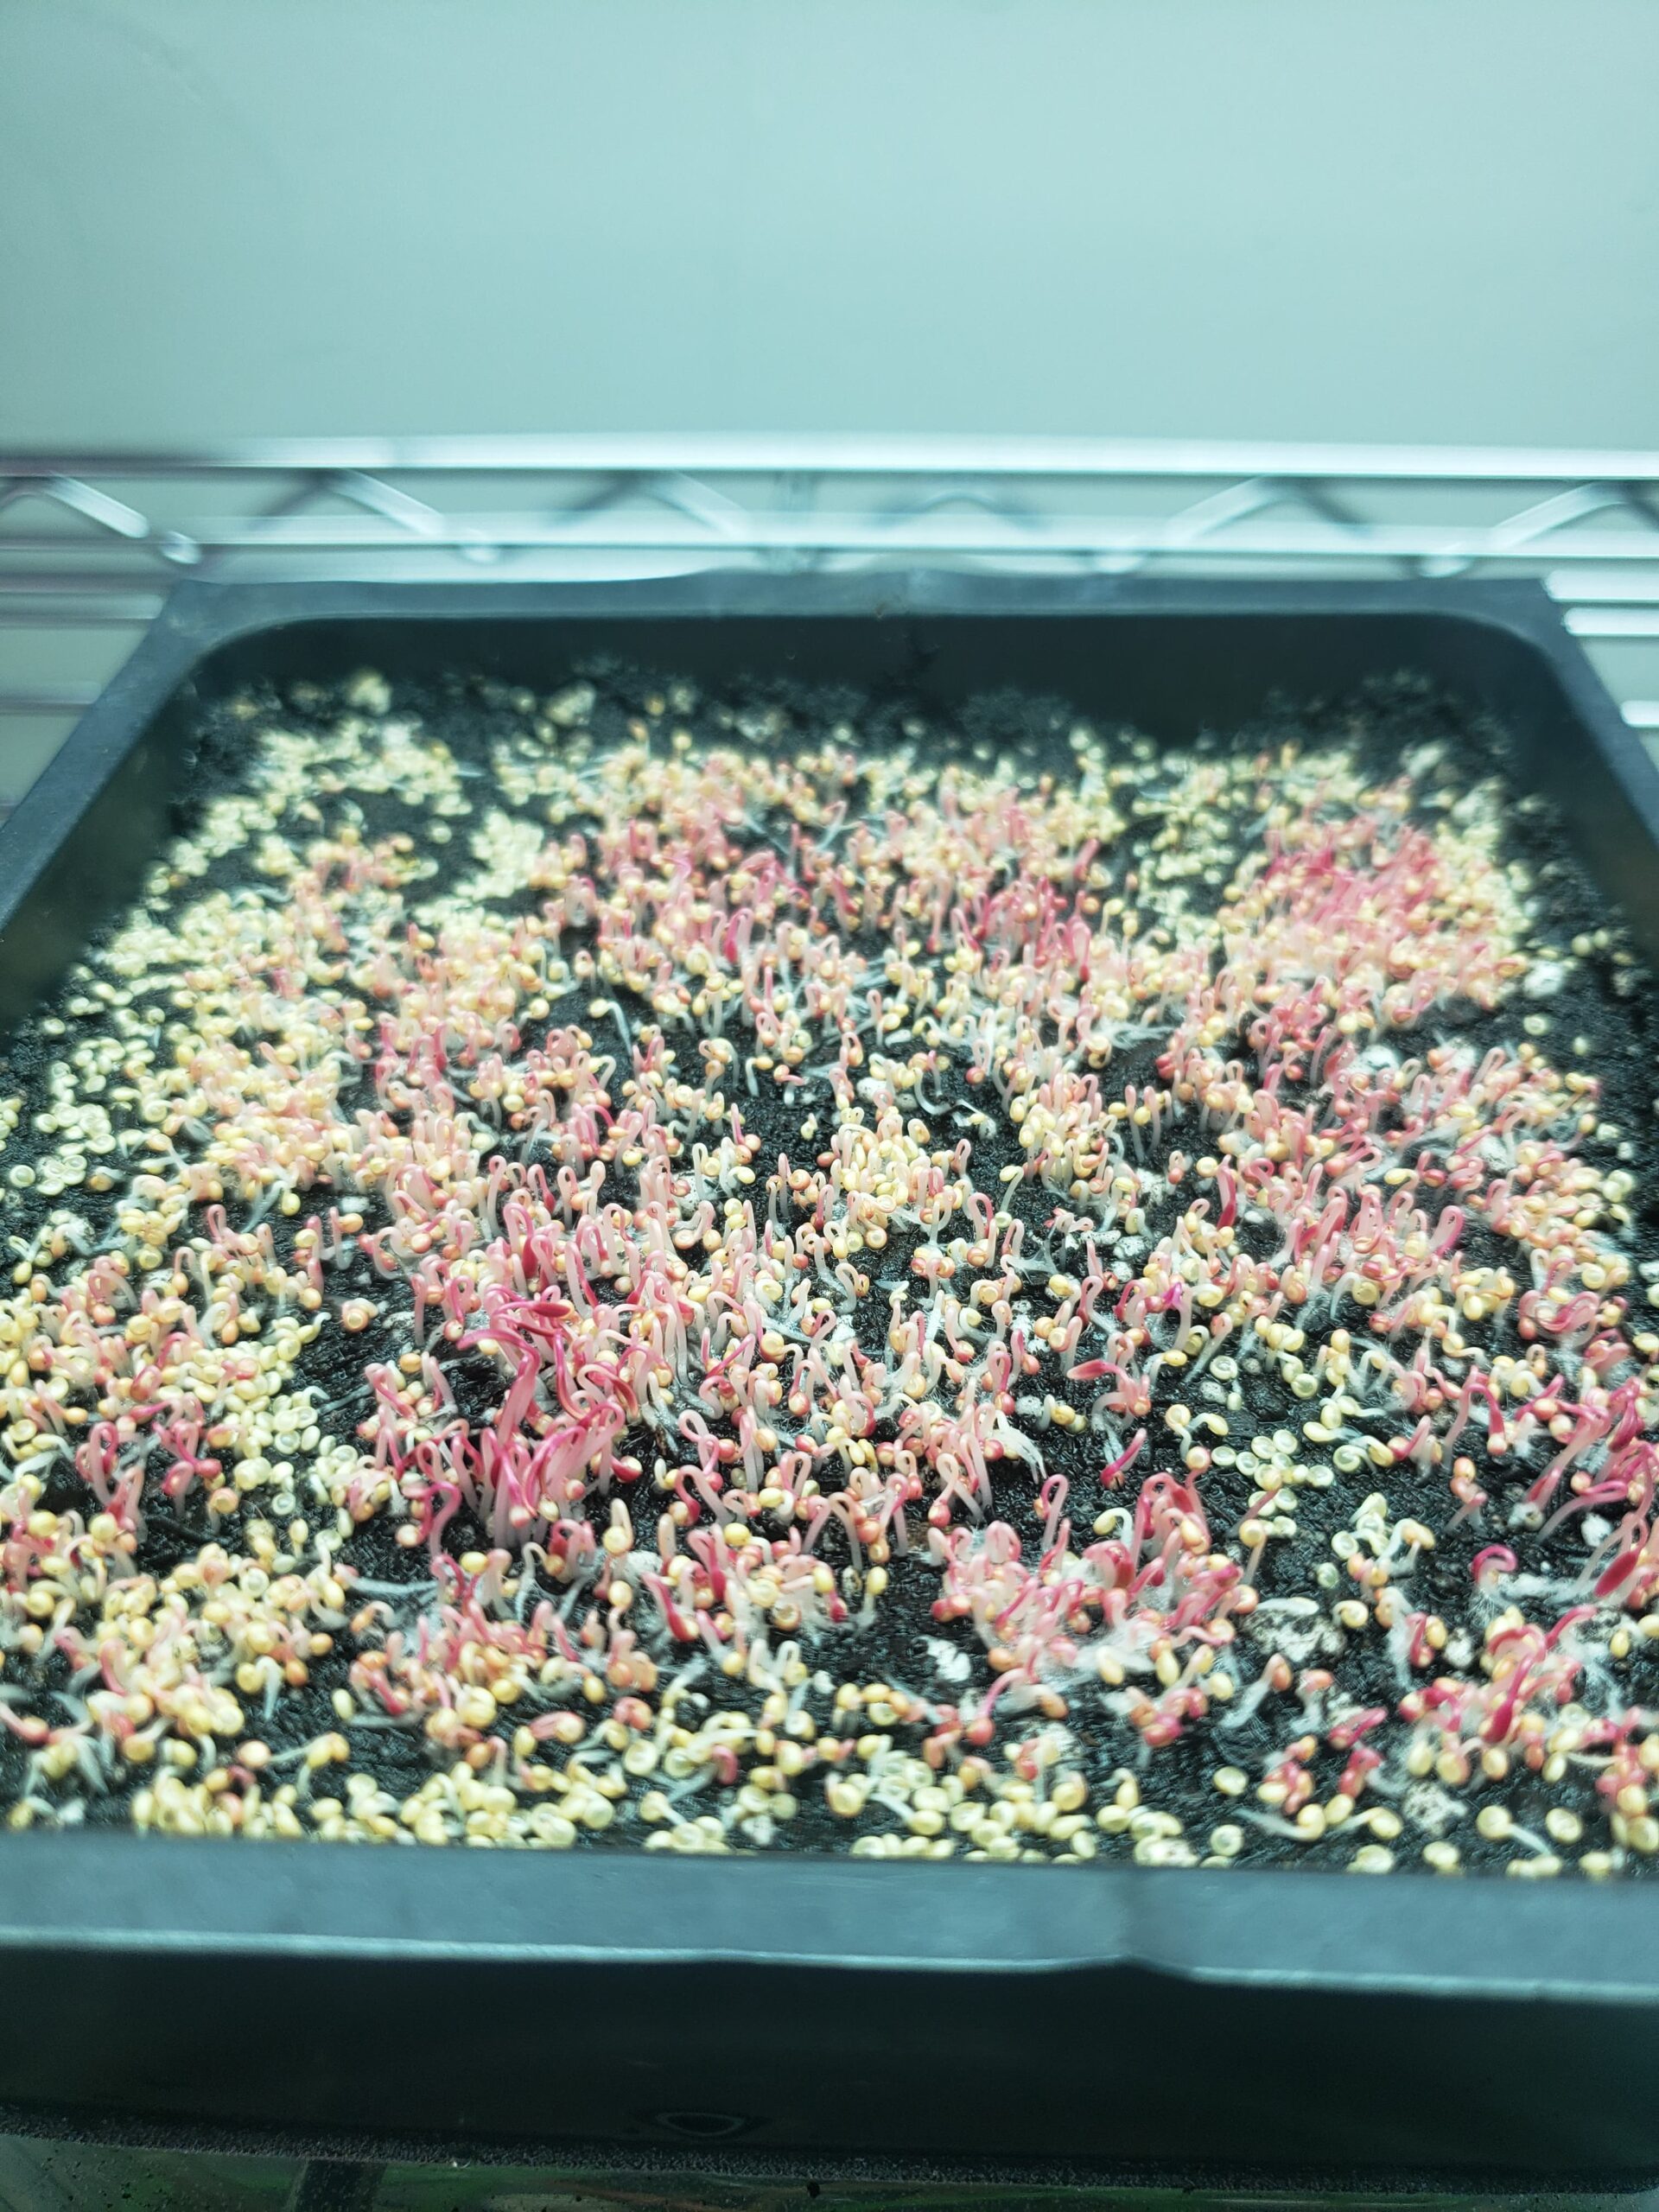
Amaranth seeds germinated: time to put under a grow light.
Step 3: Cutting & EATING!
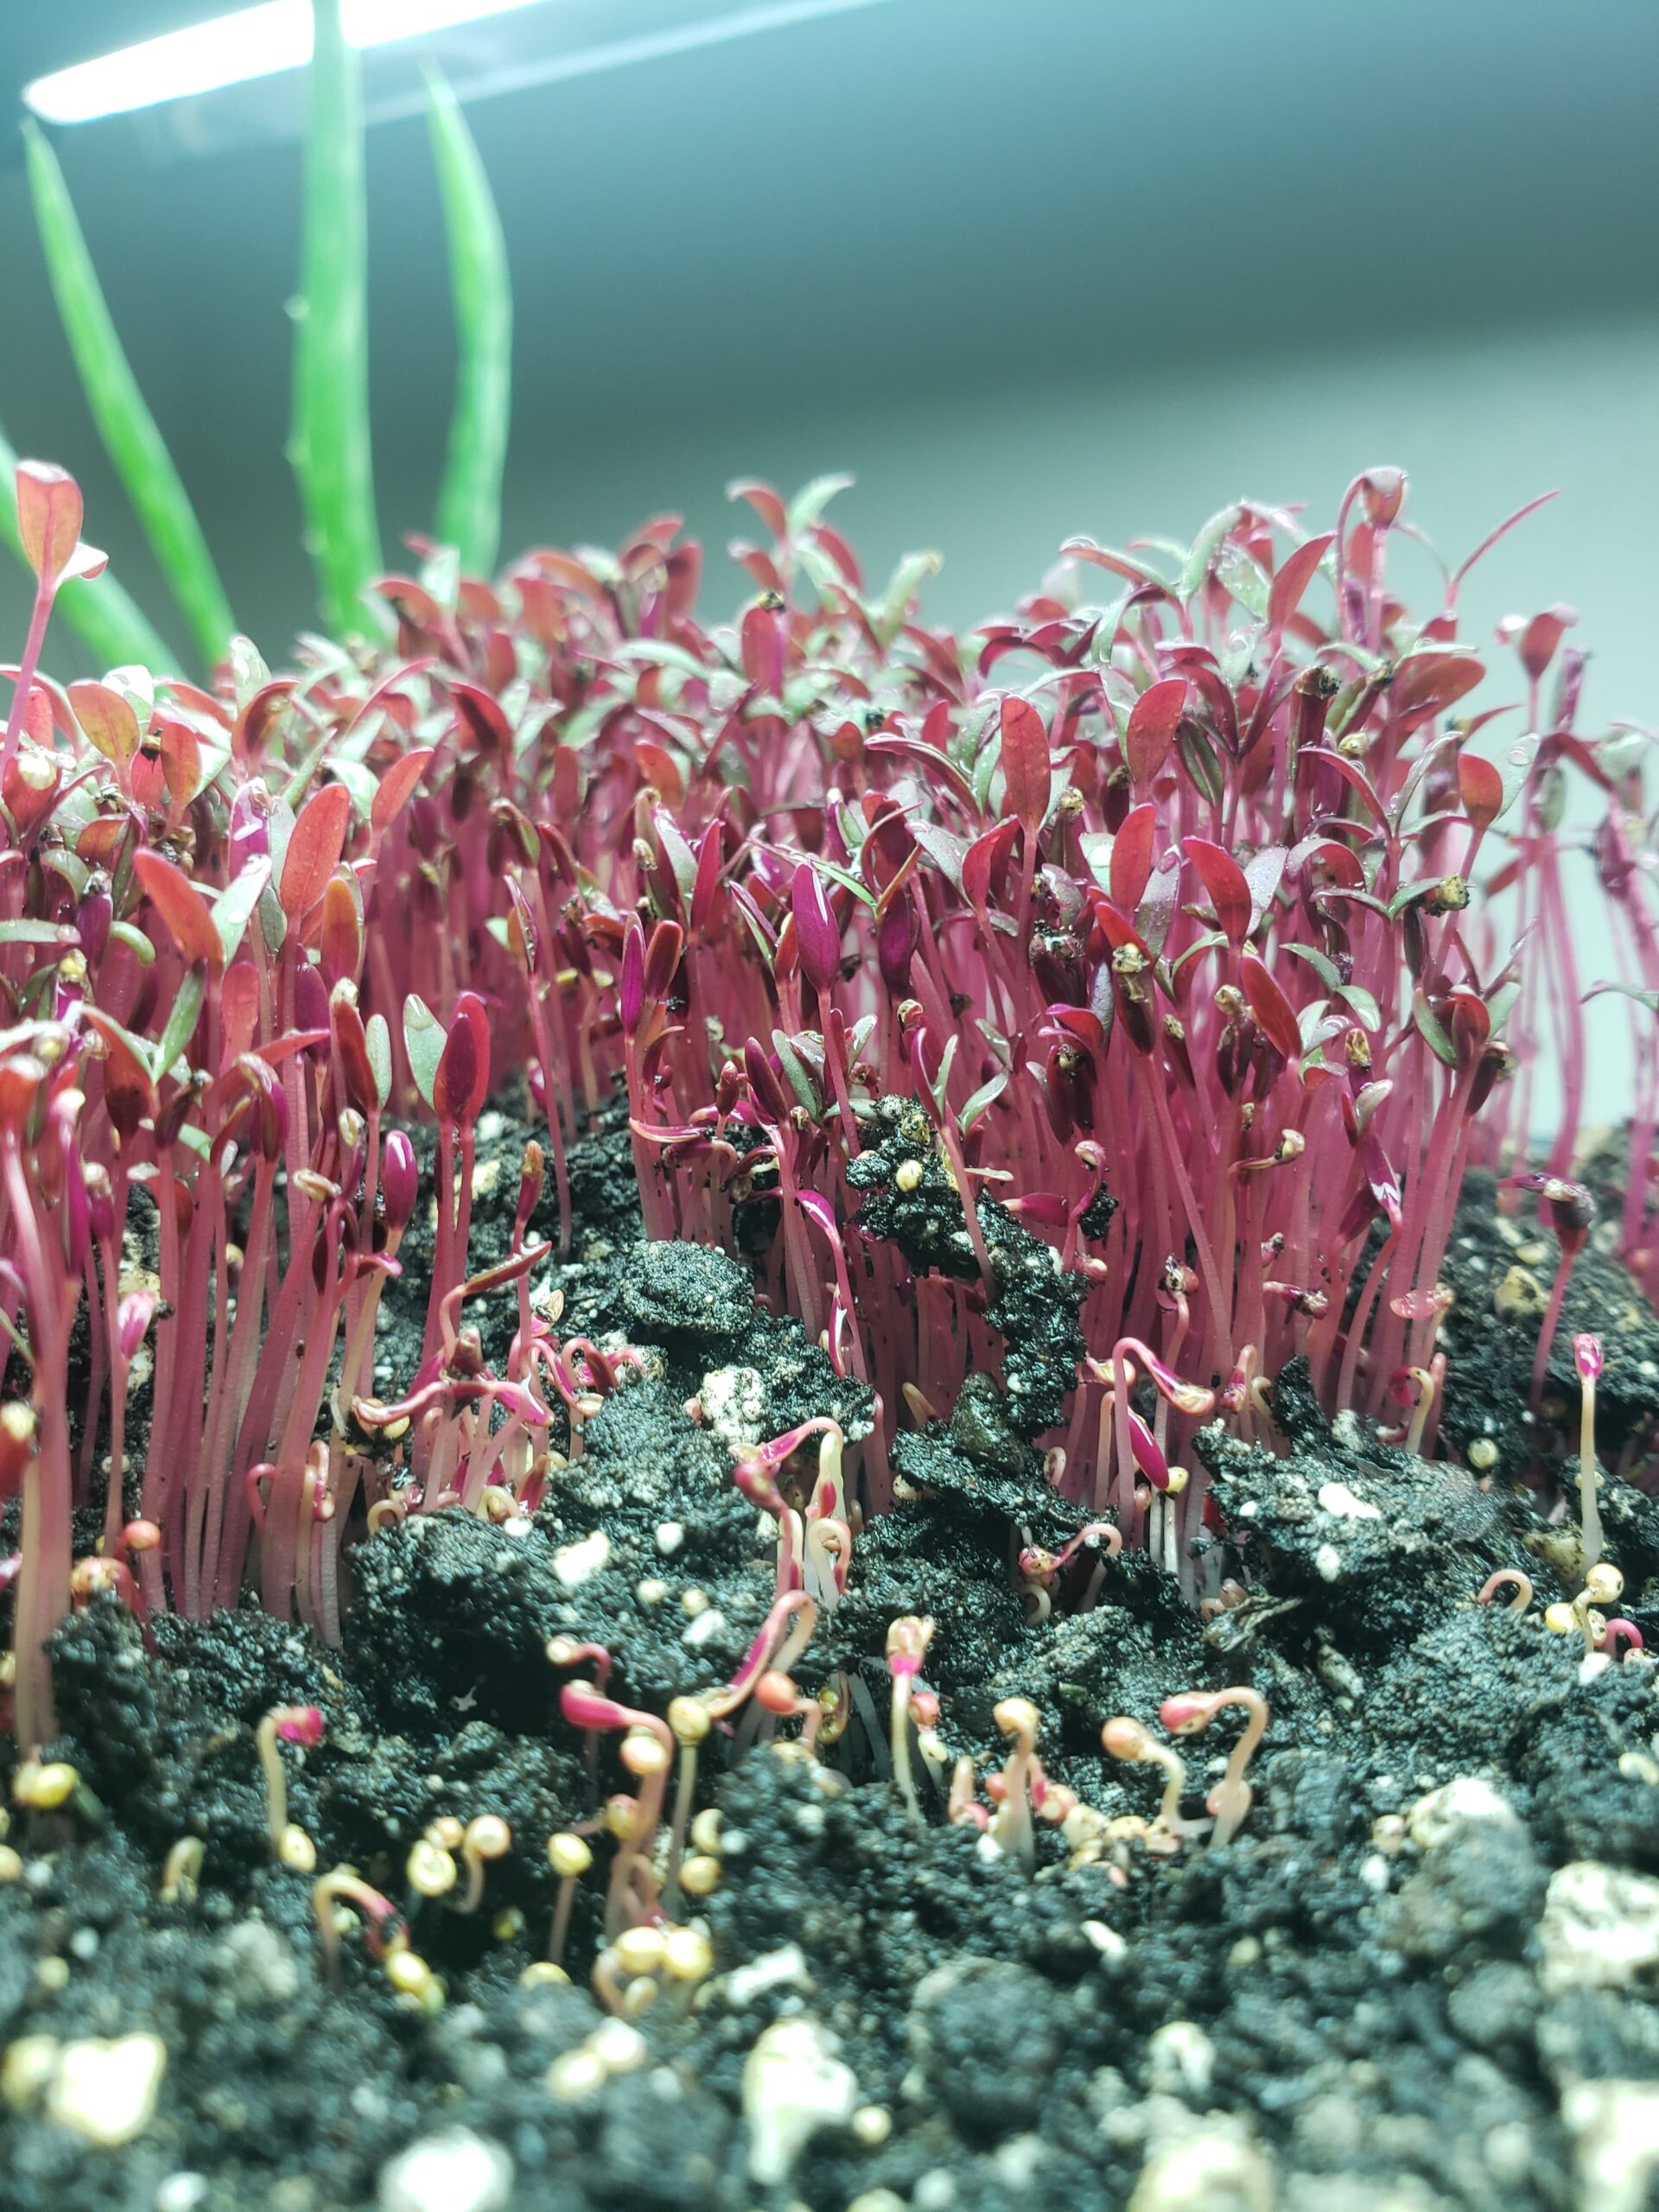
After about 10 days, your amaranth will be ready to harvest. This is slightly longer for basil – about 2 weeks+. The rule of thumb is to harvest most microgreens once they have their first “true” set of leaves.
Some varieties – like wheatgrass – can grow back after multiple cuttings. Amaranth and basil, however, will be done after one cut. The best option is to harvest your microgreens right as you plan to use them so that they are as fresh as possible. Then you can keep your container under the grow light and use as needed, much like an indoor herb plant.

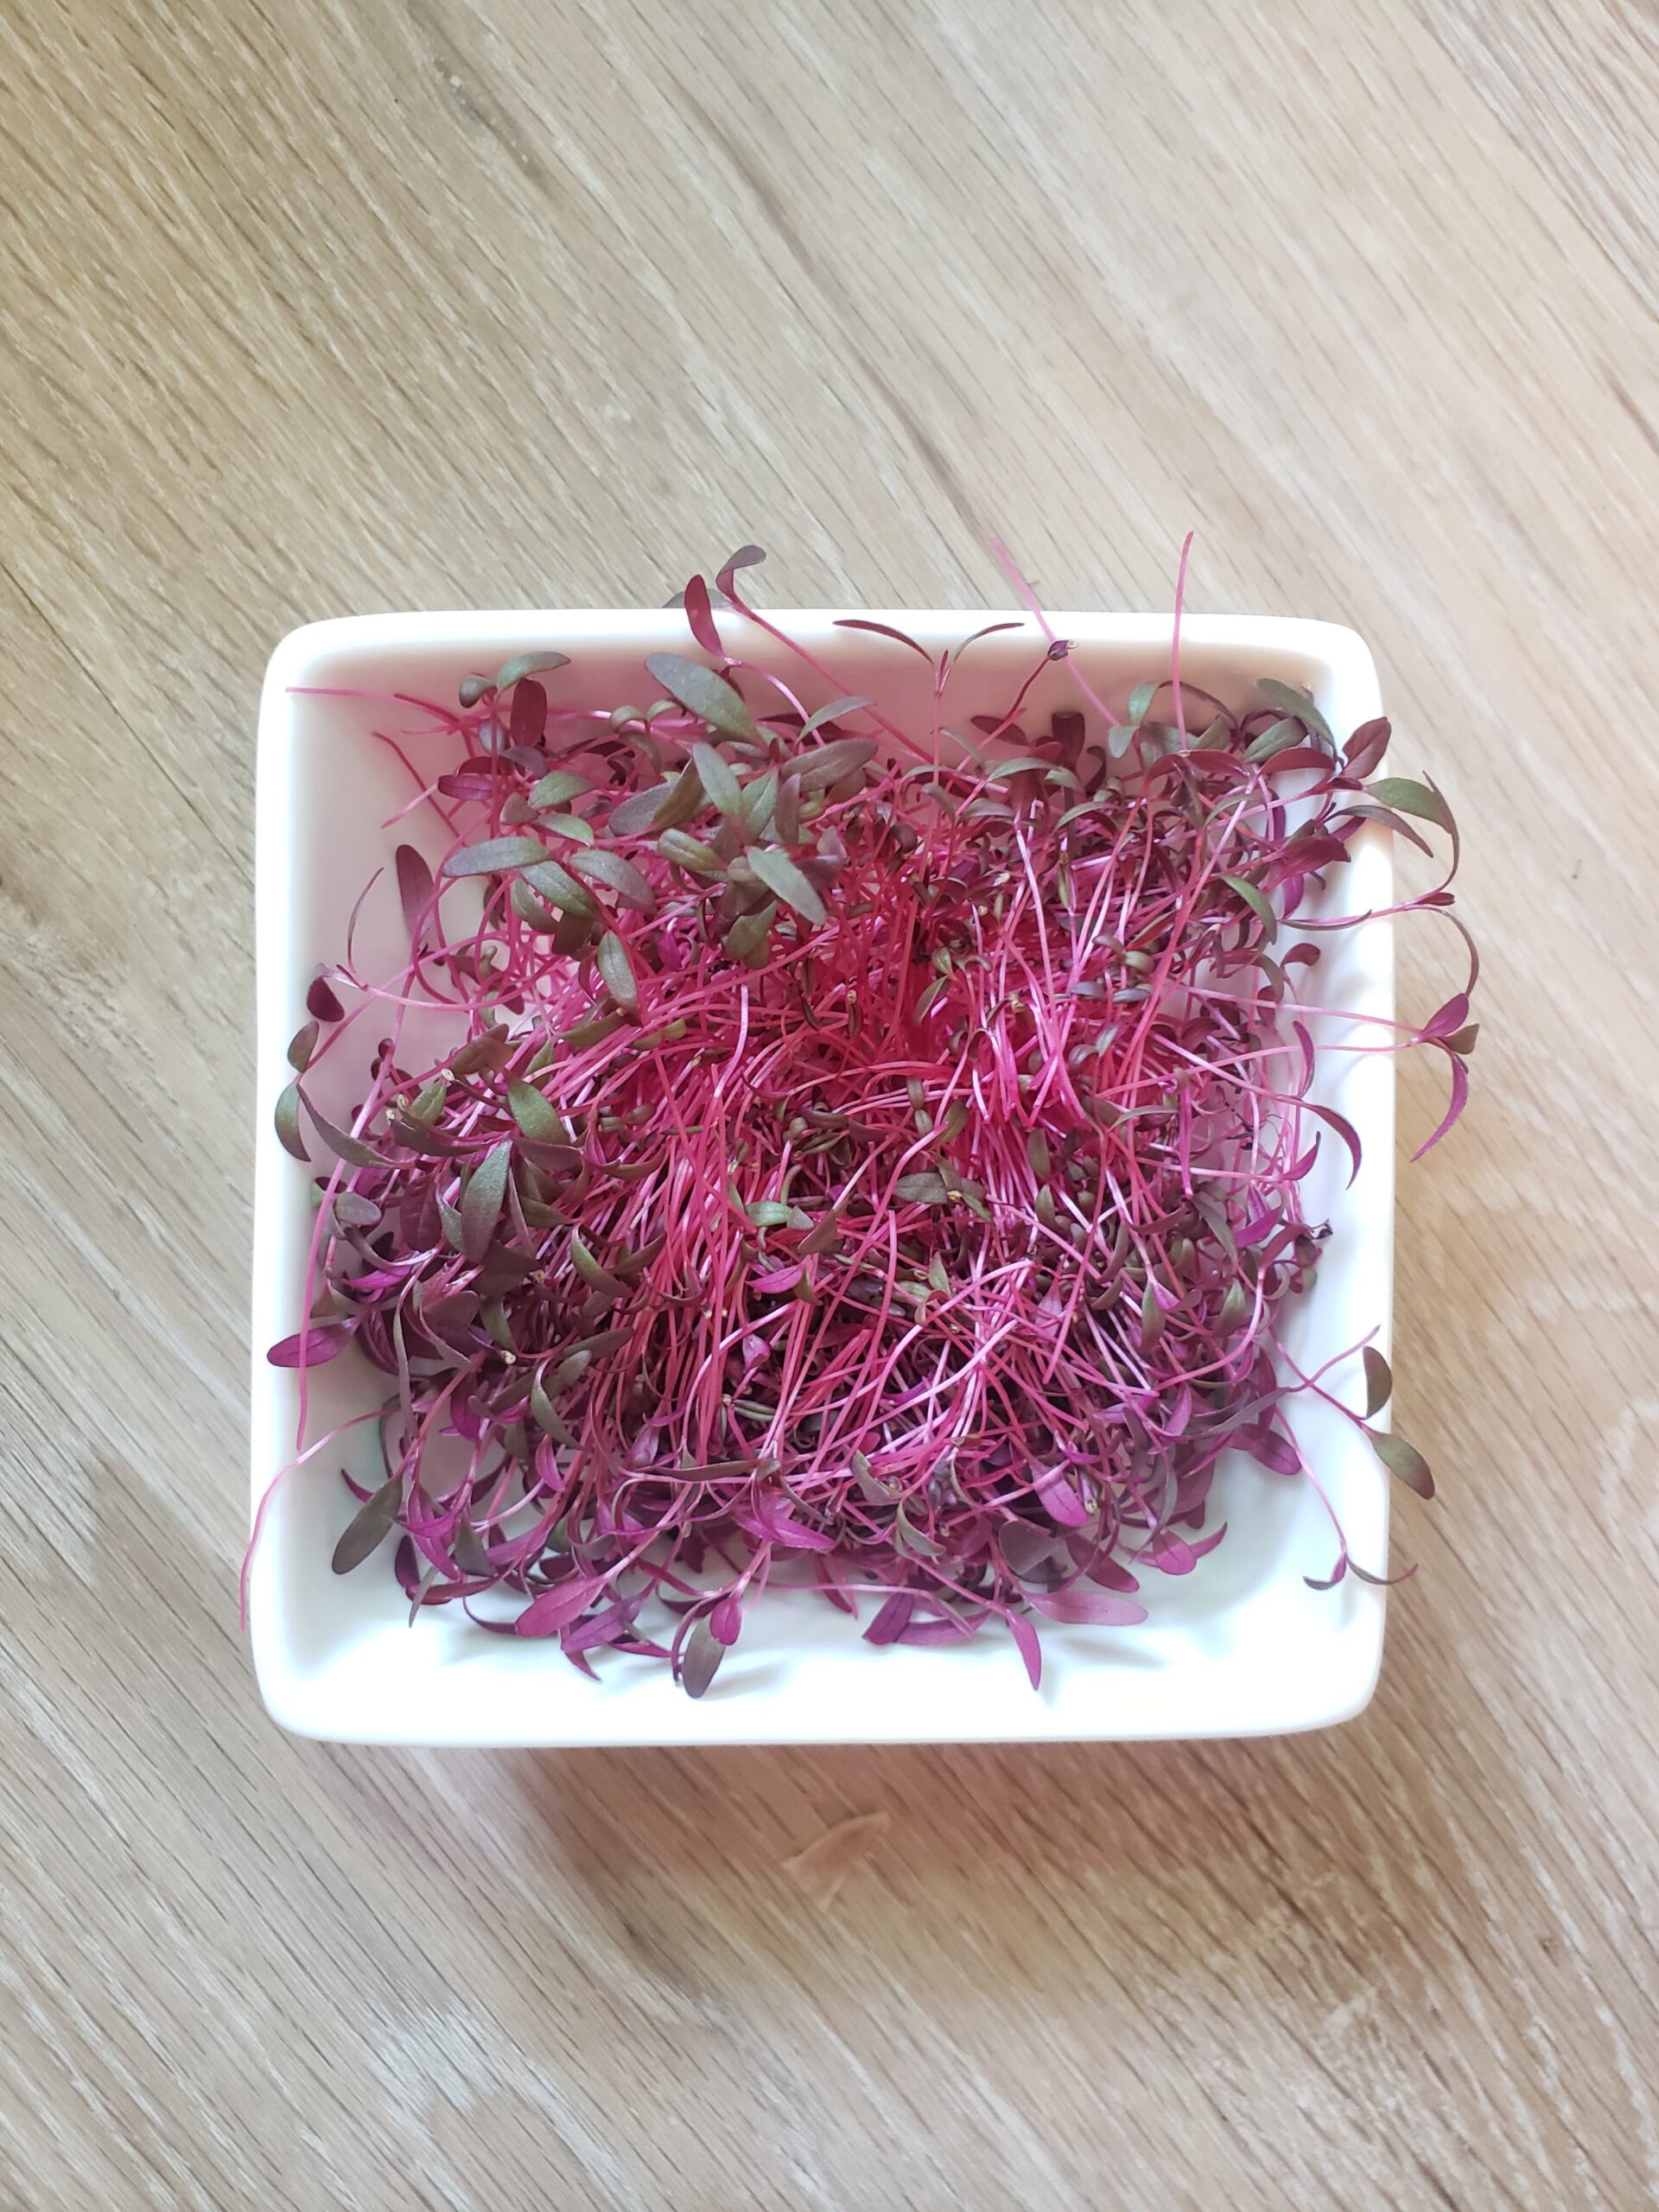
Amaranth ready for harvest – snip as desired.
Take a clean pair of scissors and snip a patch of microgreens above the soil level (avoid getting any dirt). You can sprinkle them on top of soups, salads, and just about any dish. Enjoy!
Once you’re done with all microgreens in the container, compost your scraps and spent soil.